Chimney Rock, NC -- October 2002
Other Miscellaneous Pictures
last updated October 6, 2004
Chimney Rock, NC -- October 2002
Other Miscellaneous Pictures
last updated October 6, 2004
| These are just some other pictures of stuff and junk... | |||
|
1.
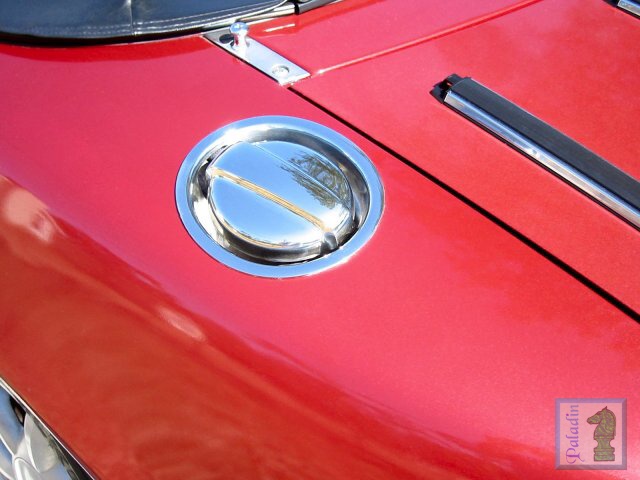
Brainstorm Classic Fuel Lid |
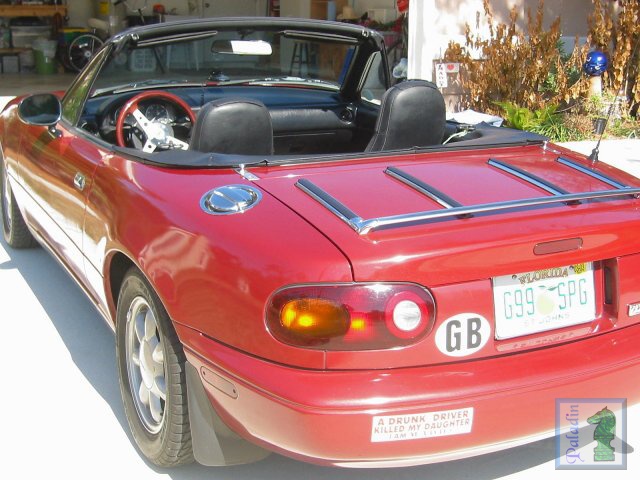
2. Back End February 1, 2003 |
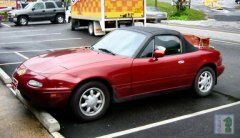
3. Not Even Mine Yet (8/02) |
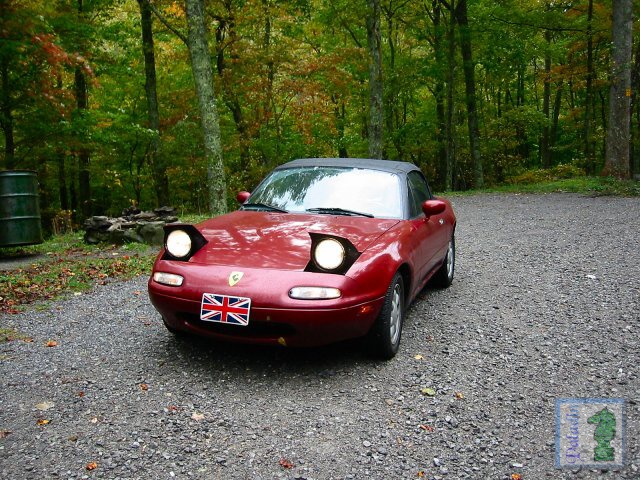
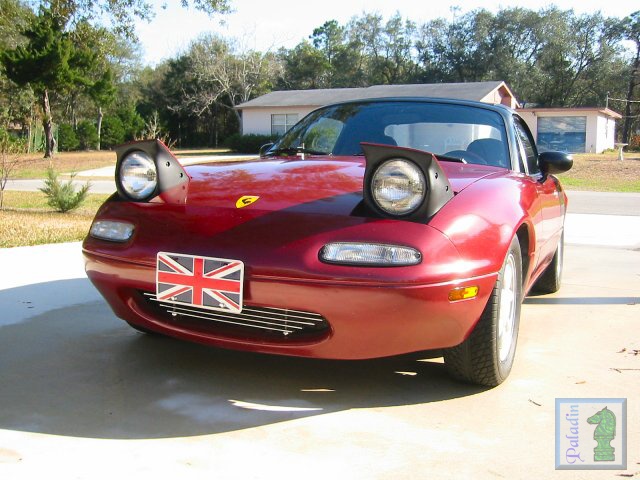
4. At Deals Gap (10/02) |
|
5. Engine Bay (11/03) |
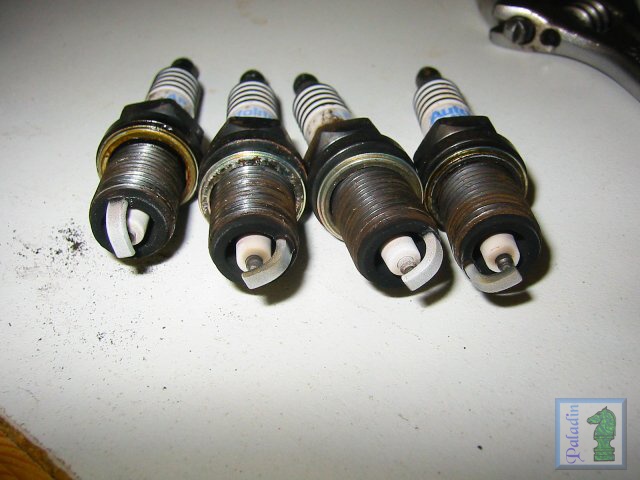
6. Plugs that were in it... |
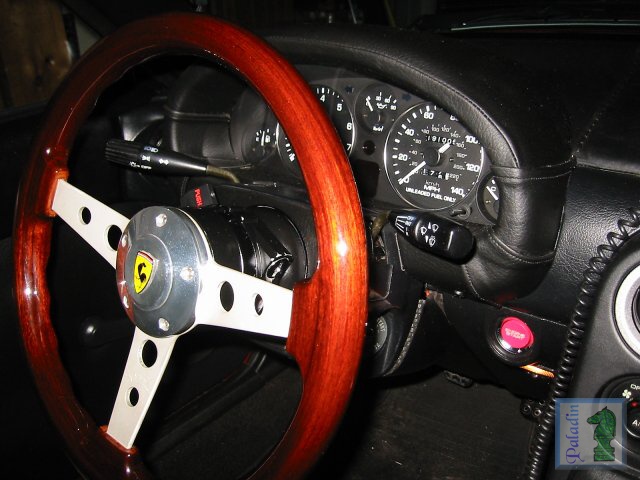
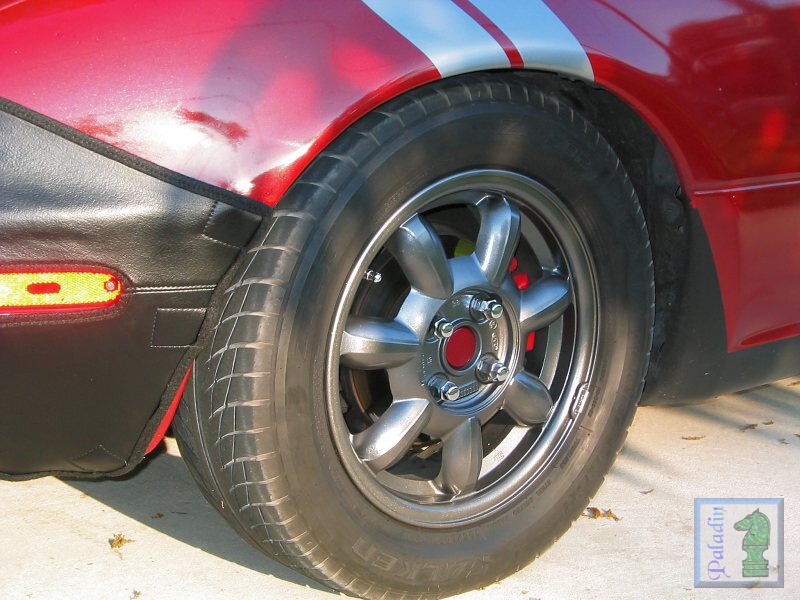
7. Grant Wheel (w/ security hub) & BRB |
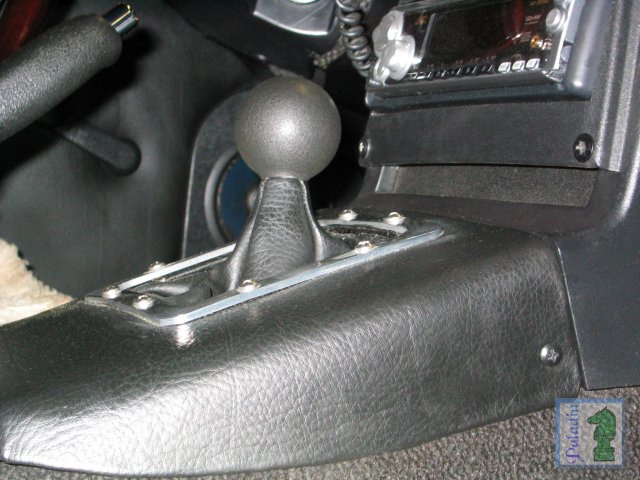
8. Shortened shift lever |
|
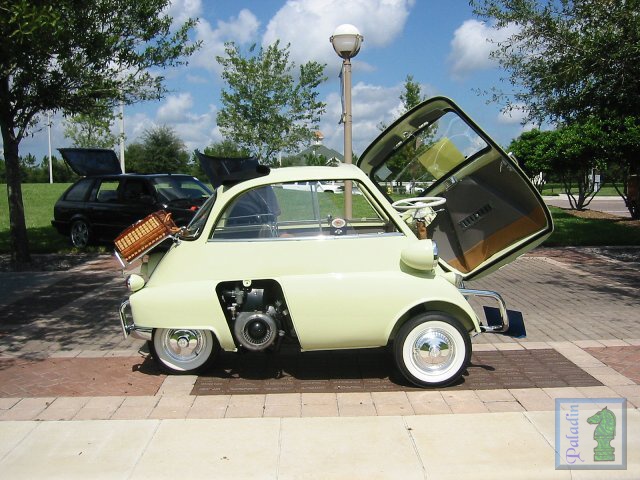
9. A 100% Mint Isetta |
10. Cranknose-2/9/2003--Good as New! |
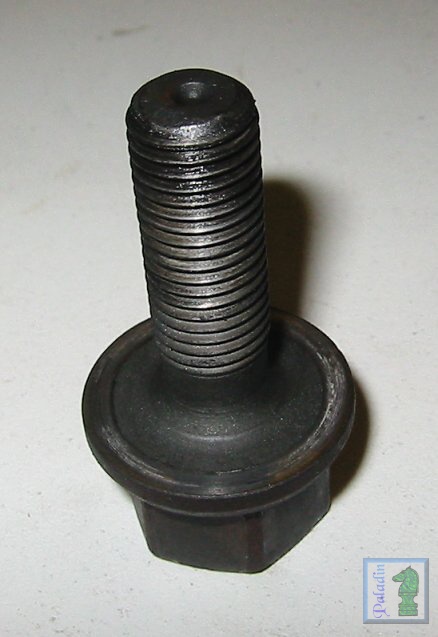
11. OEM Crank bolt-2/9/2003--Like New! |
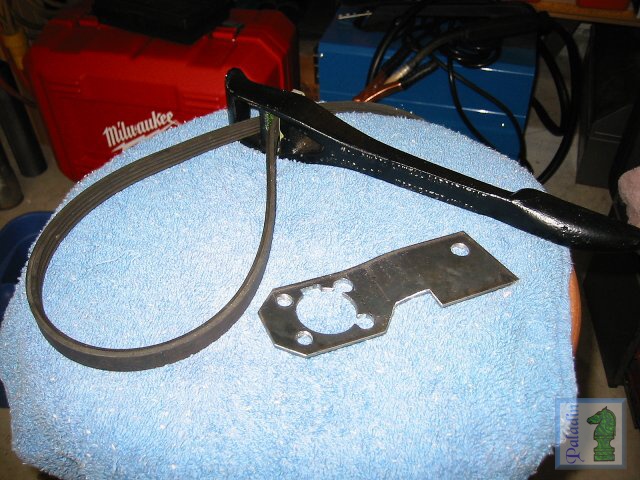
12. Custom Tools for Crank work |
|
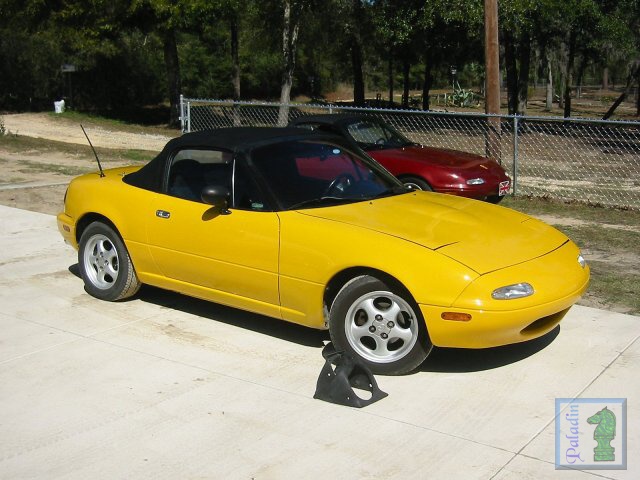
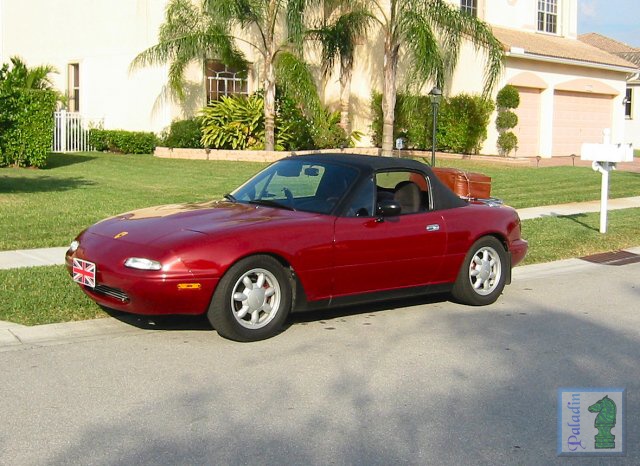
13. My brothers's '93 |
14. Key West Trip - Loaded & Ready! |
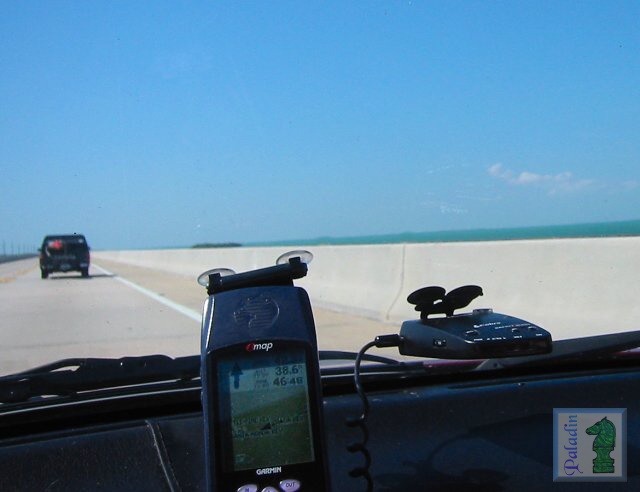
15. Key West Trip - 38.6 miles to go! |
16. Key West Trip - Ready for Duval Street! |
|
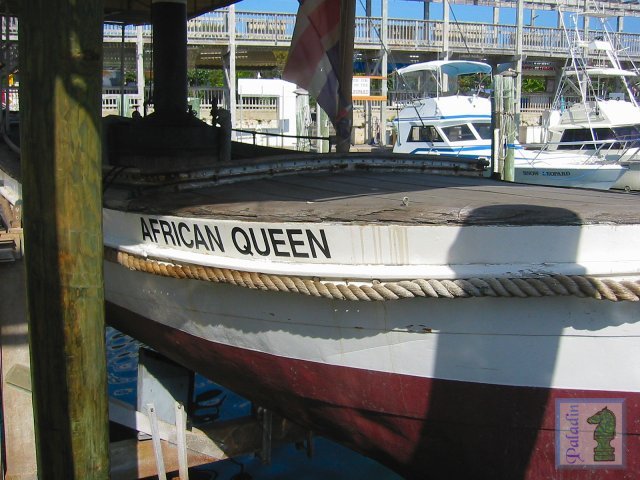
17. Key Largo - The African Queen (really)! |
18. Barn Doors - I like 'em! |
19. Garmin eMap trip log! |
20. |
|
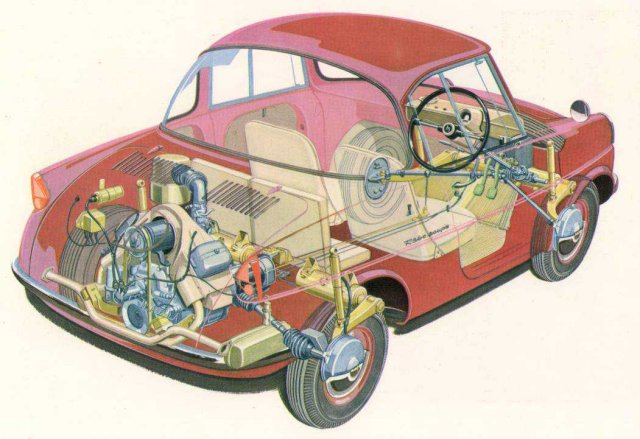
21. Mazda R360 Cutaway |
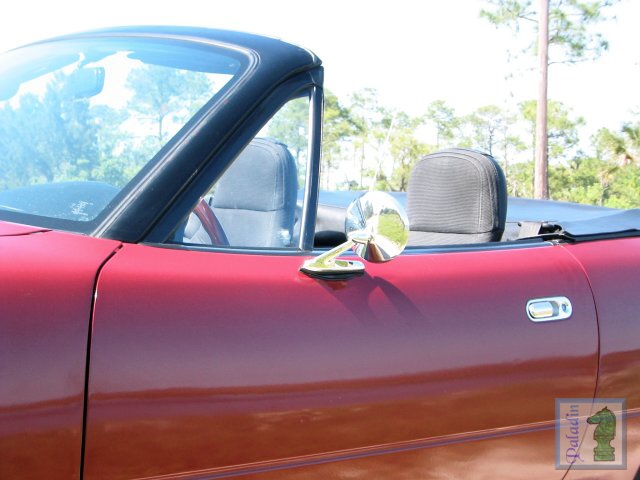
22. Classic Mustang Mirror |
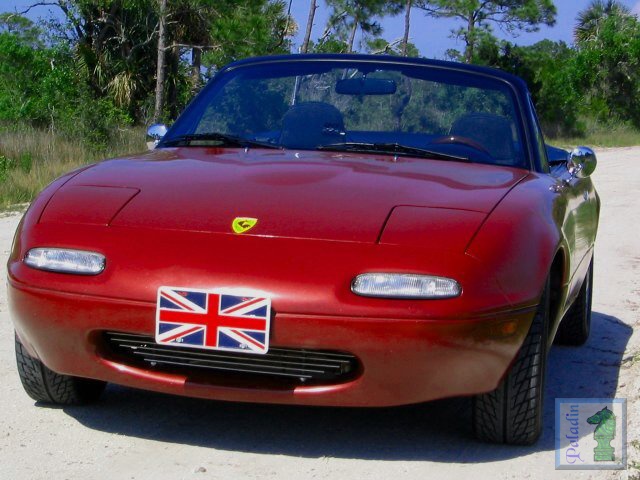
23. From the Front |
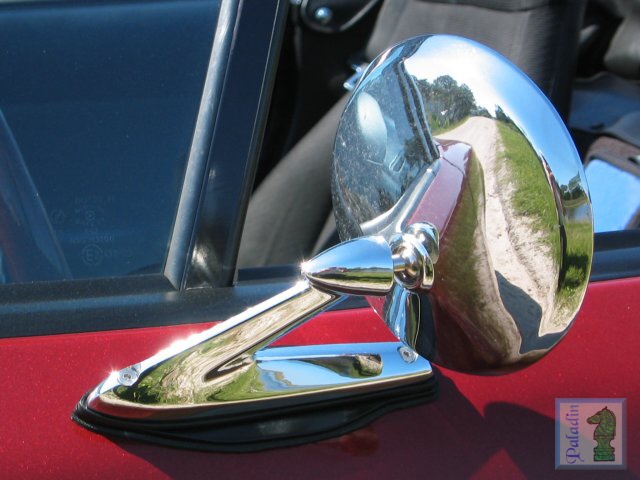
24. A dirty mirror... |
|
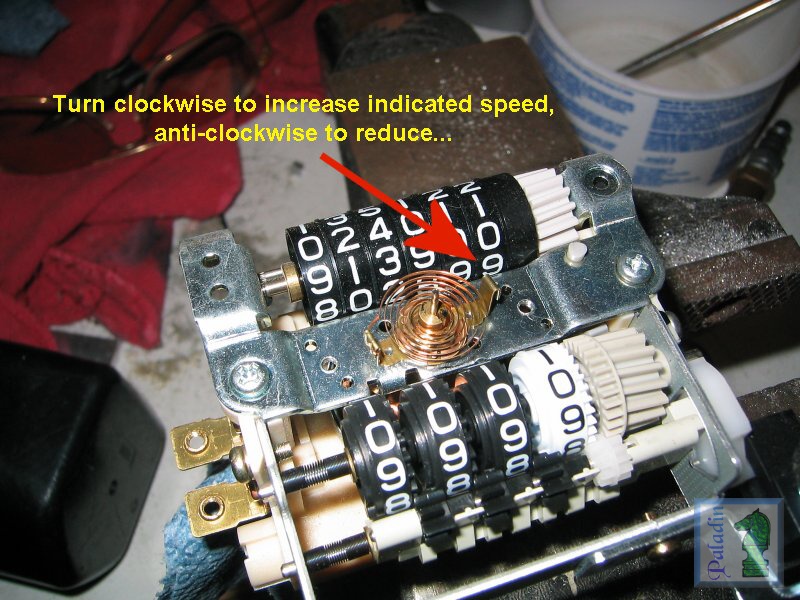
25. Speedometer
Calibration |
26. Top Seam Repair (see below) |
27. Firewall Insulation (see below) |
28. My
Little Machine Shop |
|
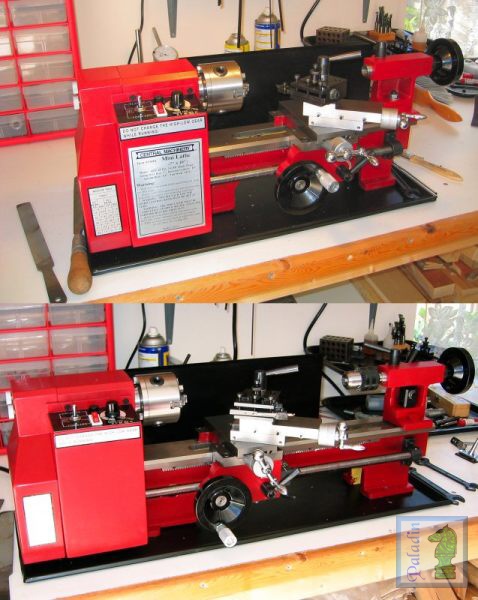
29. HF 7x10 --> 7x14 |
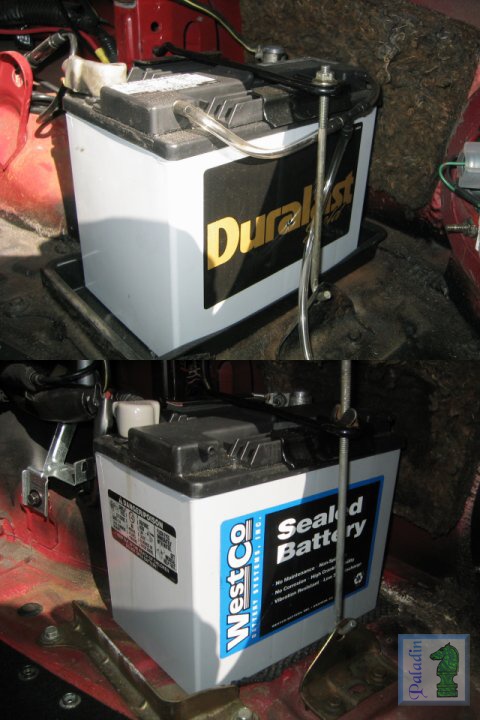
30. WestCo & DuraLast (see below) |
31.
DupliColor Wheel Paint |
|
| Notes (where needed): | |||
| 10. &
11. This is what the
crank-nose, timing pulley bore and key/keyway, and crank bolt looked like
right after I opened it up on 2/9/2003. After reading all the horror
stories from those who have had problems with the short-nose crank I
didn't know what I was going to find--I put the inspection mirror down
there and almost sat and cried I was so delighted with what I saw. This is
good news for me and I hope can provides some solace to those who haven't
yet looked. I had to use an inspection mirror to get a picture of the
crank nose, my digital camera only focuses to about 5" and the front
sway bar was in that way. I know very little of the history of my '90--It was sold in Washington DC in August of '89, and first titled in Florida in September of 1992. It next came up above the CarFax radar in 1997 when a new title was issued, at that time it had 92K miles. In June 1999 title was transferred to an auction house in Sarasota, and in August 1999 a new title was issued showing 120K miles. The people I bought it from got it in a private sale in Sarasota in February of 2002 with the odometer claiming 81K--when I bought it from (for $1500 after showing them the CarFax report) it said 86K miles. I got a new cluster from eBay (with 134K) to play with the fast tach mod (changing a capacitor on the tach circuit board to speed up its response) and when I took the cluster that came with the car apart I observed a small nick on the speedometer gauge face, just over the "hundreds" digit. So, I swapped out the speedo gauge face with the one from the eBay cluster (no nick), modified the tach and put the whole thing back. Well, guess what? When the odometer rolled over from 89999 to 90K, it went to 191000! So I suspect that the auction house that got it in 1999 turned the clock back--I've found, by playing with my eBay gauges, that you can force the "hundreds" digit to go back--but when doing this the "thousands" digit also reverses one digit, the eBay odometer now says 24K. As of April 25, 2003 the odometer reads 198,500 miles, I suspect that actual mileage may be 20K-30K more than that! The first owners may have towed it behind a motor home--the front tow hooks had 1/2" shackles welded to them, and the windshield is very pitted. The engine runs strong, has no leaks of any significance, does not burn a drop of oil, and the dry compression when I bought it was 180-190 psi across the board. |
|||
| 12. These are the custom tools I made to deal with the crank-nose issue. At the top is a plain 'ol plumber's strap wrench--except the nylon strap has been replaced with a piece of the old AC/power steering multi-V belt. I used this to hold the auxiliary drive pulley while I loosened and re-torqued the four 6 m/m bolts that hold same to the timing pulley. In the center/left is my hacked up version of the 1990 to1991-1/2 Tech Tool developed by Rick Vatavac at the Central Alabama Miata Society, there's also a 1991-1/2 to 1997 version. | |||
|
I am one happy camper!!! |
|||
| 13. My younger brother drove mine and couldn't resist--we went shopping last weekend (2/22 & 2/23/03) and found this very nice '93 in Keystone Heights, Florida. | |||
| 20. & 21. Before the Miata there was the Mazda R360 coupe.... | |||
| 22., 23. & 24. Classic Mustang side mirror--get 'em here. My car was repainted by the PO, without removing the side mirrors, so in order to hide the paint line I made some brackets of 1-1/2" x 1/8" aluminum (see pic # 24.) that mimic the OEM mirror mounting foot pattern and extend fore and aft to mount the Mustang mirror. They're a bit small (4" diameter) by current standards, however I found I got used to the driver's side quickly--I put a 4" convex stick-on overlay on the passenger side to get a better view. | |||
| 25. The
speedometer uses a magnetic coupling that drives the pointer assembly
against this clockspring--to increase the indicated speed for a given RPM turn
the brass spring anchor clockwise, to reduce the indicated speed turn the
brass bracket anti-clockwise. The speedometer in my '90 stated on the back
of the gauge face that 1024 RPM = 60 MPH, I used my battery powered drill
at its high setting (1050 RPM no load) and a shaped bit of 1/8" dowel
to drive the speedometer. Before adjustment the speedometer read 62 MPH at
full drill speed, after two tries I got it to read 59 MPH. (The picture is
actually my "spare" speedometer that I used as my guinea pig. I
was too excited about getting the real one fixed to take pictures!).
Back it the car it read almost exactly 74 MPH (a bit higher) at 4000 RPM, same as my GPS--it had indicated 77.5 MPH before adjustment! |
|||
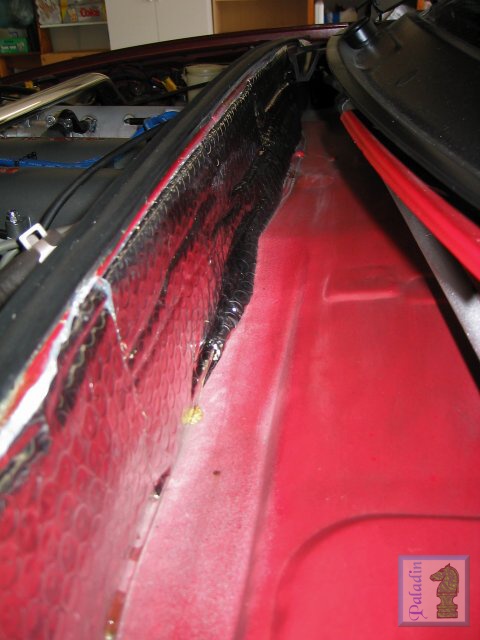
| 26.
The heat welded top seam over the rearmost bow was pulling apart, exposing
the stitching's needle holes--which did what holes do, and leaked. While
mulling over the various options I bought a Permatex Vinyl Repair Kit from
Autozone and found that the included cement was a rather free flowing
product that cured to be tough and flexible.
So I cleaned up the seam using my usual two-step process of Prep-All and denatured alcohol, and using the tapered nozzle (also in the kit, cut to the finest point I could get) I applied the cement to the seam. This was in late December of 2002--the pictures were taken in June of 2003, as you can see its held up quite well. |
|||
| 27.
In my never-ending battle to get fresh air through the ventilation system
that is some where near the outside ambient I insulated the backside of
the firewall with foil/bubble/foil insulation (from a windshield
sunscreen). It's glued on with 3M's Headliner Contact Cement--this is good
stuff, sticks like "you-know-what" to a baby blanket, and has
very high heat resistance.
There are several good threads about this issue, this recent one (July '03) is among them. |
|||
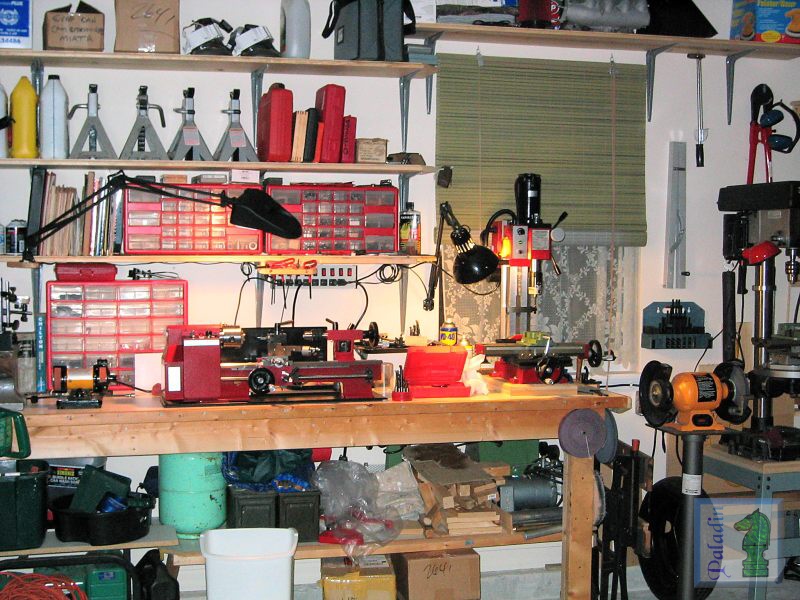
| 28. & 29. This is my "Little Machine Shop" as the SO calls it. It consists of a Sieg X2 Mini-Mill (converted to 20 tpi feed screws) and a Sieg C2 7x10 lathe, converted to a 14" bed using their C3 lathe's bed casting. These are very competent machines, when you understand that you have purchased a pre-assembled kit that needs to be disassembled, thoroughly cleaned, de-burred, aligned, lubricated with something other than fish oil, and reassembled and adjusted--with this done they are precise and accurate. | |||
| 30.
This shows Autozone's DuraLast 8AMU1R battery in the top photo, and
the latest version of the famed WestCo 12V31M battery on the
bottom--you will notice that they are physically identical, being made by
the East Penn Mfg. Company of
Lyon Station, PA. The significant difference is in the price and warranty.
The WestCo costs $84.95 and
comes with a 4 year warranty (1 year full exchange, 3 years
prorated), the DuraLast battery costs This battery is also sold by BatteryMart.com under the Marathon MAR-8AMU1R at $69.95 with a 1 year warranty. Here's a link to BatteryFaq.org/, a great source for learning more about automotive, motorcycle and RV batteries--and therie care and feeding... |
|||
| I'll add other pictures here as interesting ones come along... | |||
Return/Goto My Miata Home Page
Persian mythology gave the name Ahura Mazda
to the god of light...
cliffyk@paladinmicro.com


